How to build a website with AI: Codex + Cloudflare
From buying your domain to publishing your first site. A practical walkthrough with screenshots, copyable Codex prompts, GitHub, and the Cloudflare setup behind ruivas.ai.
 Rui Vas
Your website idea does not need to stay in a notes app. You can build it with Codex, keep the code in GitHub, and publish it on your own domain through Cloudflare.
This is the workflow behind ruivas.ai. I describe the outcome, review what Codex builds, and iterate. GitHub stores the code. Cloudflare Pages publishes it. Here is how to put that setup together, starting with the domain.
Buy your domain
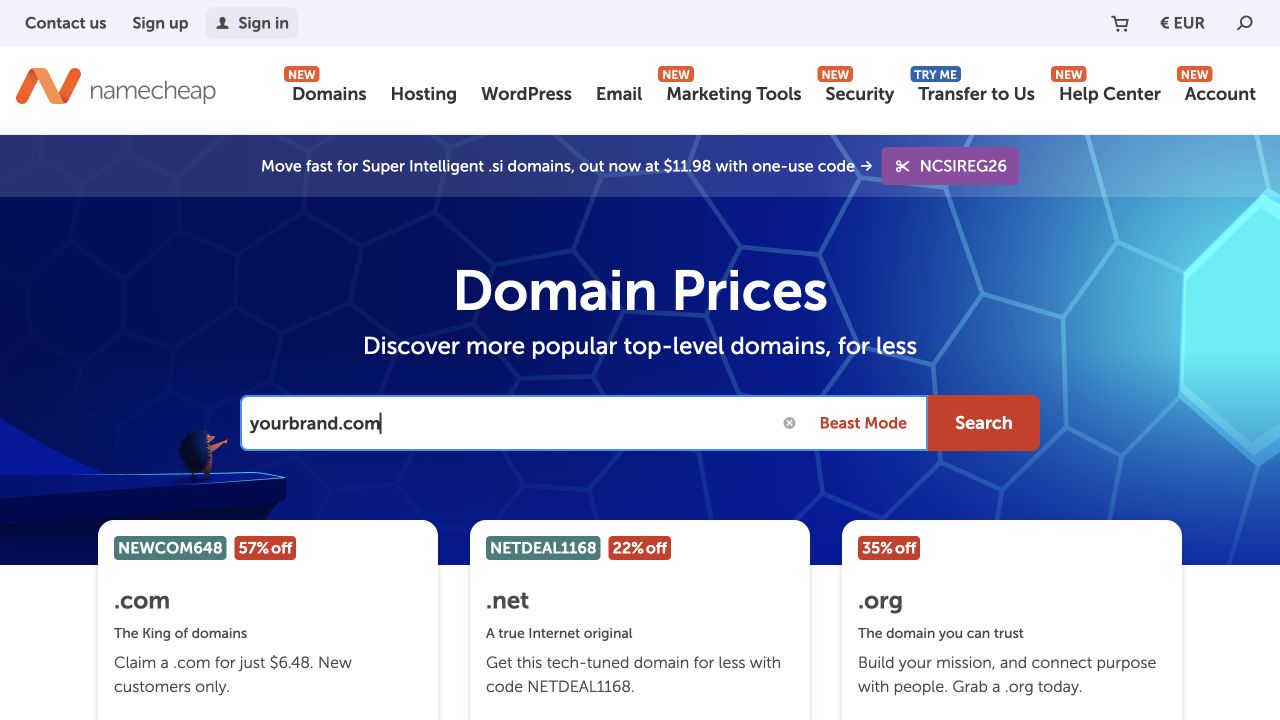
Choose the address you want people to remember. Start with your name, company, or product, and search for it at a registrar such as Namecheap. That is where I registered ruivas.ai.
- Search for your preferred name and extension.
- Compare the registration price and the renewal price, including the registration term.
- Buy the domain in your own account and keep access to that account.
For this setup, you need the domain registration; Cloudflare will provide the website hosting. You can leave the domain registered at Namecheap when you connect Cloudflare later.
Open your website project in Codex
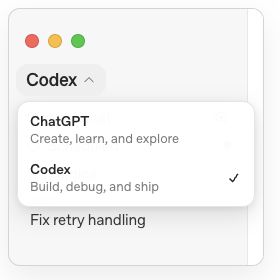
Follow OpenAI’s current quickstart: install the ChatGPT desktop app, sign in, and open a folder for your website. Choose Codex from the product selector to work with your codebase. Give it your goal and the relevant files.
Create a folder with a name you recognise, such as my-website. Put your brand references, approved photos, and existing copy there. You can start from an empty folder; a written brief is enough for a first version.
You do not need to add an AI chatbot to your website to build it with AI. In this walkthrough, Codex helps create the files; visitors receive an ordinary website.
Give Codex a brief with a clear goal
“Build me a website” leaves a lot to chance. Tell Codex who it is for, what visitors need to understand, and what they should do next. Give it real material: your services, your photos, your voice, and evidence you are happy to publish.
Here is a starting prompt. Replace the brackets before using it.
Build a website in this project folder.

Business/name: [your name or company]
Audience: [who the website is for]
Main goal: [book a call / request a quote / buy / subscribe]
Pages: [Home, About, Services, Contact]
Tone: [how you want to sound]
Visual references: [colours, websites, attached photos]
Primary call to action: [button text and destination]
Contact email: [your preferred public email]

Use the material I provide. Do not invent testimonials, client relationships, or performance numbers.

For this first version, use static HTML, CSS, and JavaScript. Put the publishable website in dist/, including dist/index.html. Keep assets in dist/assets/ and use normal links between pages. Do not add a framework or build dependency unless there is a clear need.

Make it work on mobile and desktop, with readable text, accessible navigation, descriptive image text, and reduced-motion support.

Build the first version, start a local preview, and tell me what to review.
For ruivas.ai, the starting point is a personal brand website: keynotes, workshops, practical AI tools, and a clear discovery-call invitation. The stage photos inform the palette. The copy should sound like me. Those decisions matter as much as the code.
Ask for a small first version. A clear homepage and a working contact route are a useful foundation. Add a tools library, guides, or a workshop planner when they serve an actual purpose.
Preview it and make specific changes
Open the local preview Codex gives you. Read the page as a visitor: can you understand the offer quickly, find evidence, and take the next step?
- Check a narrow screen: headings, menus, buttons, and images should fit.
- Read the words: replace vague claims with useful details.
- Click the links: navigation, booking, email, and social links need the right destinations.
- Watch the motion: animation should support reading, and respect reduced-motion preferences.
Give feedback that names the section and the change. “Make it better” is much less useful than “The about photo crops too tightly; show more of the person and reduce its height on mobile.” You can attach a screenshot and point to the problem.
Review the current homepage on desktop and mobile.

Make the primary call to action easier to find, shorten repeated copy, and fix any heading or image alignment problems. Keep the existing brand colours and approved testimonials.

Show me the updated preview and explain the changes. Check that every contact link uses my preferred email address.
If the page collects enquiries, decide how those submissions reach you. A form that only looks finished is not enough: it needs a working delivery endpoint and a clear success or error message. The static publishing steps below do not automatically create that backend.
Put the project on GitHub
GitHub is the handoff between your working folder and Cloudflare. Create a repository in your GitHub account, then connect your local project to it. A private repository can still supply the code for a public website.
You can ask Codex to handle the Git commands. Sign in through the normal GitHub login flow when needed, and review the changes before publishing.
Prepare this website for GitHub and Cloudflare Pages.

Check that dist/index.html exists and that all public assets and page links resolve. Review the files for credentials, local-only data, or anything that should not be published. Add appropriate ignore rules.

Connect this folder to my GitHub repository [repository URL], commit the website, and push to main. Show me the commit and what is ready for deployment.
The important structure for this guide is simple:
my-website/
  dist/
    index.html
    assets/
      site.css
      site.js
      your-photo.jpg
    about/
      index.html
Other source files can live outside dist. In this project, some pages are generated locally from templates and content files; the generated HTML is committed before the push. Cloudflare receives a folder that is already ready to serve.
Connect GitHub to Cloudflare Pages
In Cloudflare, open Workers & Pages → Create application → Pages, then choose to import an existing Git repository. Select your repository and begin setup. Cloudflare documents this flow in its static HTML deployment guide.
These are the settings used by this website:
| Setting | Value |
|---|---|
| Production branch | main |
| Framework preset | None |
| Build command | exit 0 |
| Build output directory | dist |
| Root directory | Repository root; leave the optional field blank |
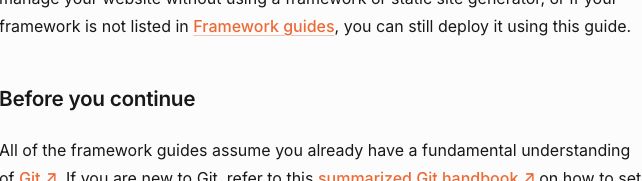
dist in this project.exit 0 simply finishes successfully. It works here because the HTML is already prepared in dist. If you choose a framework that needs compilation, use that project’s real build command and output folder instead.
Save and deploy. Open the assigned your-project.pages.dev address and check the website before connecting your domain. This site’s fallback address is ruivas-ai.pages.dev.
Add your custom domain in Pages
Inside your Pages project, open Custom domains → Set up a domain and enter your address. Follow the setup prompts. For an apex domain such as yourbrand.com, add the domain as a Cloudflare zone in the same account and use its assigned nameservers. See Cloudflare’s custom-domain instructions.
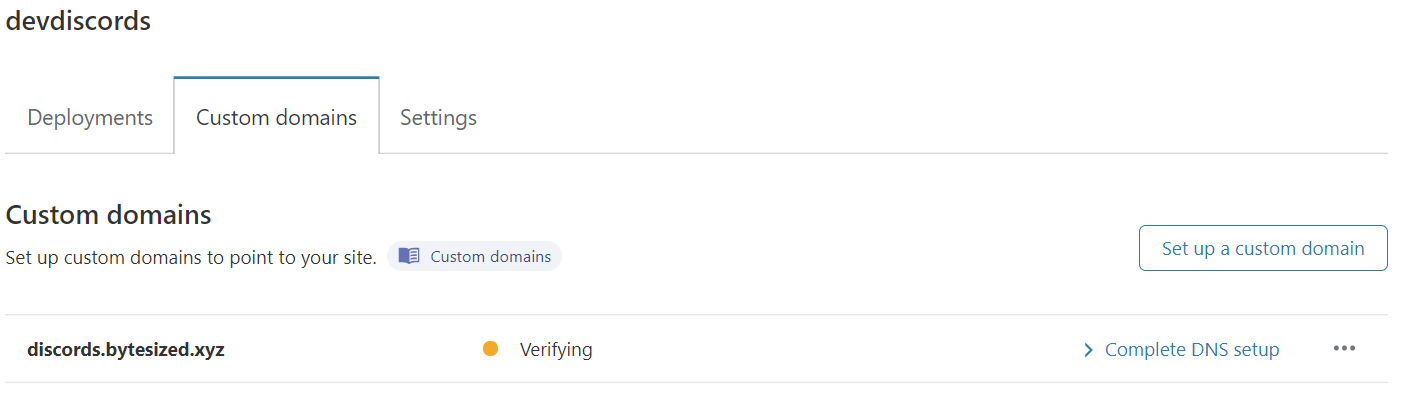
Add both the root address and www if you want both to work. Choose one as the main address and redirect the other to it, preserving paths and query strings. ruivas.ai uses the address without www.
Connect your domain’s nameservers
Cloudflare gives your domain a pair of nameservers. Copy the pair assigned to your domain. Do not copy nameservers from a tutorial or another account.
If the domain is at Namecheap, open Domain List → Manage → Nameservers → Custom DNS. Enter that Cloudflare pair and save with the checkmark. The Namecheap instructions show the fields.

Before switching an existing domain, review the DNS records imported into Cloudflare. Keep records needed by services you use, including email. If you are moving an existing website, get the new Pages preview working first and keep the old hosting available during the transition.
Return to Cloudflare and check that the zone and Pages custom domain become active. DNS changes and certificate setup can take time. A successful save at the registrar does not mean every visitor is already reaching the new site.
Check the live website
Visit the HTTPS version of your domain. Try it on a phone as well as a laptop. Open a page directly, rather than only arriving through the homepage, and refresh it.
- Does the homepage show the new version?
- Do page URLs, photos, styles, and navigation work?
- Does the booking or contact button reach the right destination?
- If you have a form, does it report delivery accurately?
- Do both the root domain and
wwwbehave as intended?
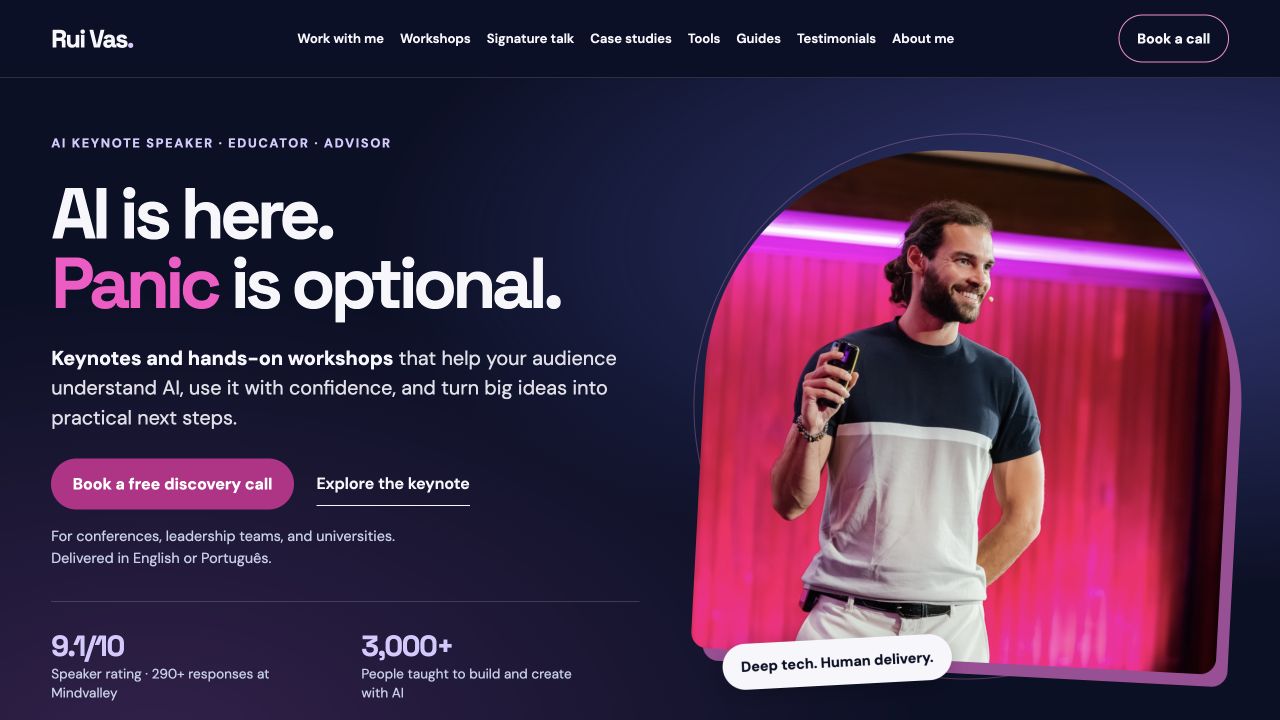
If the Pages preview works but the domain does not, focus on domain setup rather than rebuilding the website. Confirm that the domain is attached to the right Pages project, Cloudflare is authoritative, and DNS is pointing to the new site. Cloudflare warns that creating only a CNAME without attaching the domain in Pages can produce a 522 error.
Make your next change and publish it
Once the Git integration is connected, pushes to the production branch trigger deployments. That is the loop: change with Codex, preview, commit, push, then check Cloudflare’s deployment result. See Cloudflare’s Git integration documentation.
Update this website: [describe the change].

Follow the project instructions and existing design. Regenerate any affected pages from their source files. Preview the result on mobile and desktop, and check the affected links or behaviour.

Review the diff, commit the intended changes, and push to main to deploy through Cloudflare Pages. Verify the live URL and report the commit and deployment result.
Make changes in small batches so they are easy to review. If an update causes a problem, identify the responsible commit and ask Codex to revert that change with a new commit, then deploy the correction.
You now have a website you can keep improving in conversation, with code history behind it and your own domain in front of it. Next, explore the tools I use, or plan a practical workshop to build something with your team.